The Turkish Get Up – The Best exercise in the world!
Why everyone should be learning and practising it.
How to do the get up well.
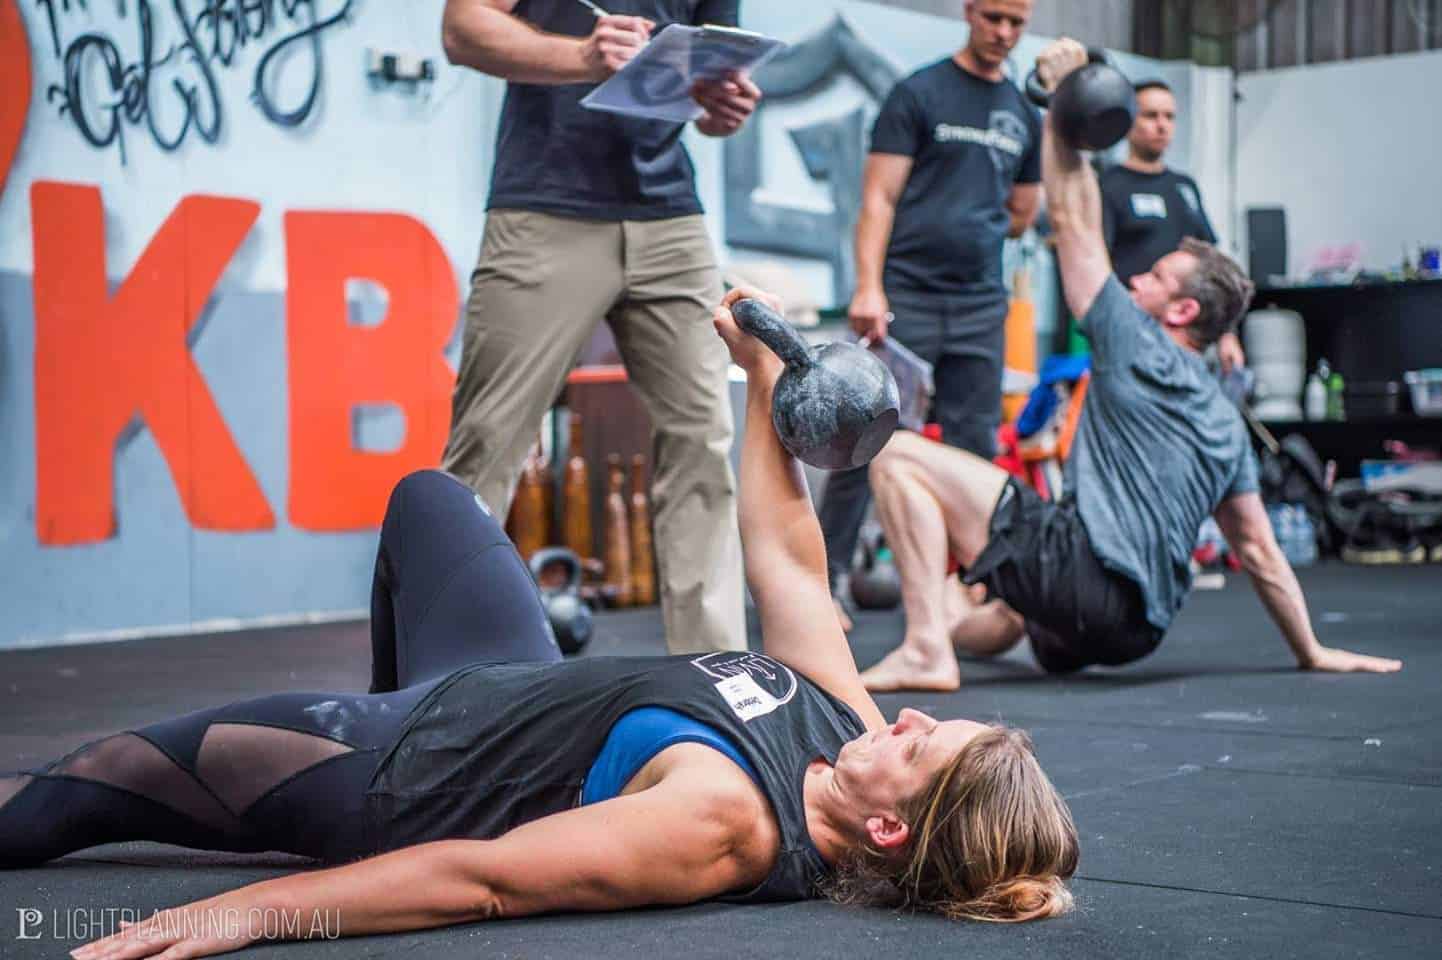
The Turkish get up (TGU) is widely renowned in the fitness industry as an excellent exercise but why should you do it? If you are an athlete, it will make you a better athlete. If you are simply training for life then the get up will help you in many ways. Do you want to still be able to get up off the floor if you fall, or get down to the floor to play with your children? The get up trains primitive movement patterns (rolling over, kneeling, standing up and reaching) and promotes stability, builds strength and stimulates the central nervous system.
If you think of your body in two halves, left and right, there is great value in being able to link those two halves; to co-ordinate your movements on both sides, through a solid core foundation. The get up teaches this linkage and helps you to control your spine posture, create a stiffness through your torso and use your extremities with adequate force to drive through the movement.
The Turkish get up is the real deal. It’s an exercise that does everything. It uses every main muscle group and it trains both mobility and stability in several joints and through varying positions. It is therefore an awesome strength builder. Using the stabiliser muscles to steer your body around an overhead weight gives you the mechanical advantage to be stronger. The TGU teaches you about full body tension and how to correctly pack the shoulder to safely move with a weight held over your face! The get up is also an awesome core exercise; it was the only exercise tested (out of 52 exercises) in an experiment by Bret Contreras, to show 100% peak activation in all four core muscles tested by EMG (rectus abdominus, internal oblique, external oblique and erector spinae). So if you want strong shoulders, abs of steel and an ability to get up of the floor, the TGU is your go to!
So, we’re clear on the advantages of the Turkish get up? It is preventative medicine or rehabilitation (dependant on your circumstance) for your upper body because it builds shoulder stability and mobility like no other exercise. It offers thoracic rotation and extension which many other exercises don’t. It works your core like crazy. It teaches body awareness and uses developmental movement patterns. Arguably it is the most functional exercise known to man – who doesn’t need to be able to get up and down? Overall, it makes you mighty strong! Now, why on earth isn’t everyone already in love with the TGU and why isn’t it on every program? Why isn’t every single human being on the planet doing get ups since they are so beneficial? The Turkish Get Up is a complex exercise to learn and is difficult to master without proper instruction. It can look a little intimidating because it involves weight over head and the whole movement can be very overwhelming when viewed in one go.
Don’t let the enormity of the task put you off. The TGU is easy to learn if you break it down and it is a hugely beneficial exercise even done without weight, so that’s where you start; step by step and bodyweight only. Learning something complex is a challenge and when we face challenges we are rewarded with satisfaction. Getting your first good get up brings a sense of achievement and from there you can build to improving your form, mastering the technique and then progress to adding more weight or a more challenging load. Once you can do it well, the get up is the gift that keeps on giving – there is always somewhere to go with it and you can have some real fun! Grab any inanimate object and get up with it or maybe you want a real challenge and you can try getting up with your pet or your child or a friend! *please ensure no pets, children or friends are harmed in your crusade for get up glory!
So let’s learn how to do the get up, step by step:
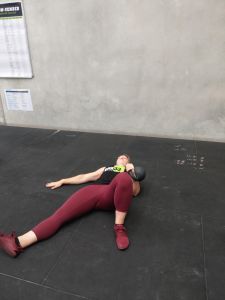
Step one: The roll.
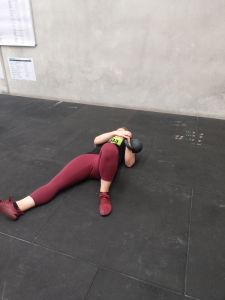
Lay on your left side in the fetal position and roll onto your back, straightening out the right leg and keeping the left leg bent so you end with the foot planted on the ground. If you were going to use a weight here you would take the weight with both hands and pull it with you until it is stacked on top of your left vertical forearm.

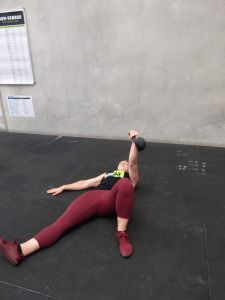
Step 2: The press
Now you are lying on your back with your left elbow on the ground and a vertical forearm. Your left leg is bent with the foot planted into the ground (make sure the foot is not too close to your bum and turn out the toes to around 45 degrees). Your right leg is straight but out to about 45 degrees. Your right arm can assist if required, to press your left arm straight up towards the ceiling. Keep your shoulder packed (i.e., think about pulling your shoulder blades into your back pockets and even though you are pressing the hand up to the ceiling, press your shoulder into the ground at this point). Once the left arm is up straight you can place your right arm – touch your right hip bone, put your elbow on the ground and then keep your elbow in place whilst straightening your arm out on the floor (the arm will likely be about 45 degrees to your body but using this method accounts for different limb lengths and body sizes).

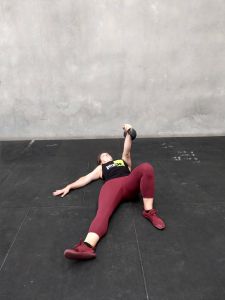
Step 3: The roll up
You’d be forgiven for thinking this part of the get up is a sit up, but this is a common mistake. You don’t actively sit up from the floor, but rather roll over onto your elbow whilst pushing into your planted foot. Imagine pulling with the right elbow and pushing with the left foot whilst rolling to the right side. Do not let shoulders soften, keep everything packed. The most common mistake here is to lead with the head, keep your neck and head neutral and keep your eyes on your left hand.

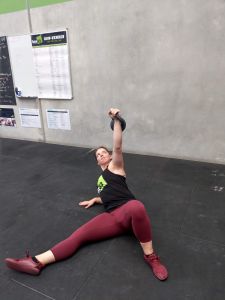
Step 4: push up to hand and find tall sit position
Lift the right elbow and take your weight forward onto your right hand until you are sitting tall with weight through the right hand and left foot (some weight will also be in your right hip at this point). Maintain the feeling of shoulder blades in back pockets, keeping the shoulders away from the ears and have a proud chest. Continue to keep your eyes on your left hand.


Step 5: Sweep the leg through
By taking weight equally through your left foot and right hand you can lift your right hip from the ground and bring your right foot towards your groin. Then just tuck the foot through and place your knee on the ground to form a tripod with your hand, knee and foot. Maintain shoulder stability and the straight line from left to right hands. Continue to look at the left hand.

Step 6: To kneeling
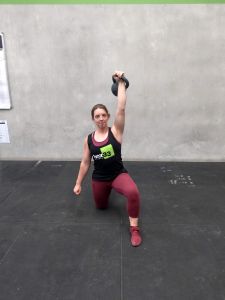
Shift your weight from your right hand by sitting back into your hips. Push through your left foot and come up to kneeling by taking your right hand off the floor. Windscreen wiper the right foot so it is directly behind you (alternatively move the left foot until left thigh and right shin are parallel and turn your body 90 degrees) and now look straight forwards.


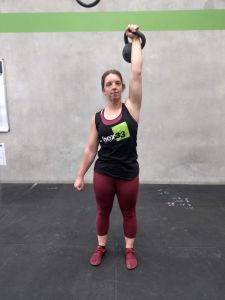
Step 7: Stand up.
Ensure your front foot is in a strong position to stand from and take the weight through the front foot as you squeeze your quads and glutes to stand up tall. Squeeze your abs and keep the weight overhead by ensuring the shoulder stays strong and packed.
Step 8: Reverse the movement to get back down!
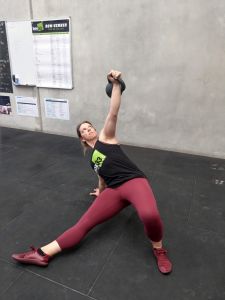
Lunge back (step back as if on train tracks with your right foot and take your right knee silently to the ground ensuring you step far enough back to create space to sweep through, essentially place your knee where it was on the way up). Windscreen wiper the foot or move the left foot and shift weight into the hips so you can be stable whilst reaching for the ground. Eyes should be back on the left hand overhead once your knee is on the ground. Touch the right thigh with the right hand and then reach straight out (this stops you from placing the hand too far back which is another common mistake) as you shift your weight from hinged back in the hips onto that right hand. You should be back in a tripod position with the right hand directly below the left hand. Taking weight in the right hand and left foot you will sweep your right leg back through to place your hip on the ground between the right hand and left foot. Do not let the shoulders go soft here and keep the chest proud. Now you are back in tall sit and ready to roll down to the elbow with control. Make space by “squashing a bug” with your right hand (squeezing the palm into the ground whilst turning the eye of the elbow forwards to bring the fingers facing forward). Roll in a controlled manner back to laying on your back. Use the right hand to guide the left hand back down until the elbow is on the ground and the forearm vertical then roll back to fetal position.
Step 9: Repeat on the other side!
Step 10: Do all of the above with a shoe balanced on your fist.
Doing the exercise with a shoe balanced on your closed fist shows up any areas of weakness or instability and you can continue to practice this way until you get your technique right. Doing the get up and down without weight is still challenging and still a good workout. It is more important to be safe and get the technique correct with stable shoulders before trying to put weight up over your face!
Once you are ready, start with a light kettlebell and do the movement with a straight and strong wrist (imagine pulling your fist to your forearm and pushing the kettlebell with the outside of your wrist). It may feel a little uncomfortable at first but stick with it. You can also do the get up with a dumbbell and once you have mastered the movement you can try it out with a barbell which increases the instability of the load, making it a real challenge!
Now you have the move, what do you do with it?
You can incorporate get ups into any workout easily! You can do get ups anywhere so they are great go to exercise when you don’t have access to a gym or you are away on holiday.
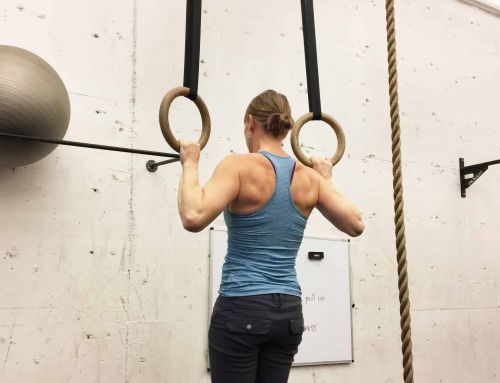
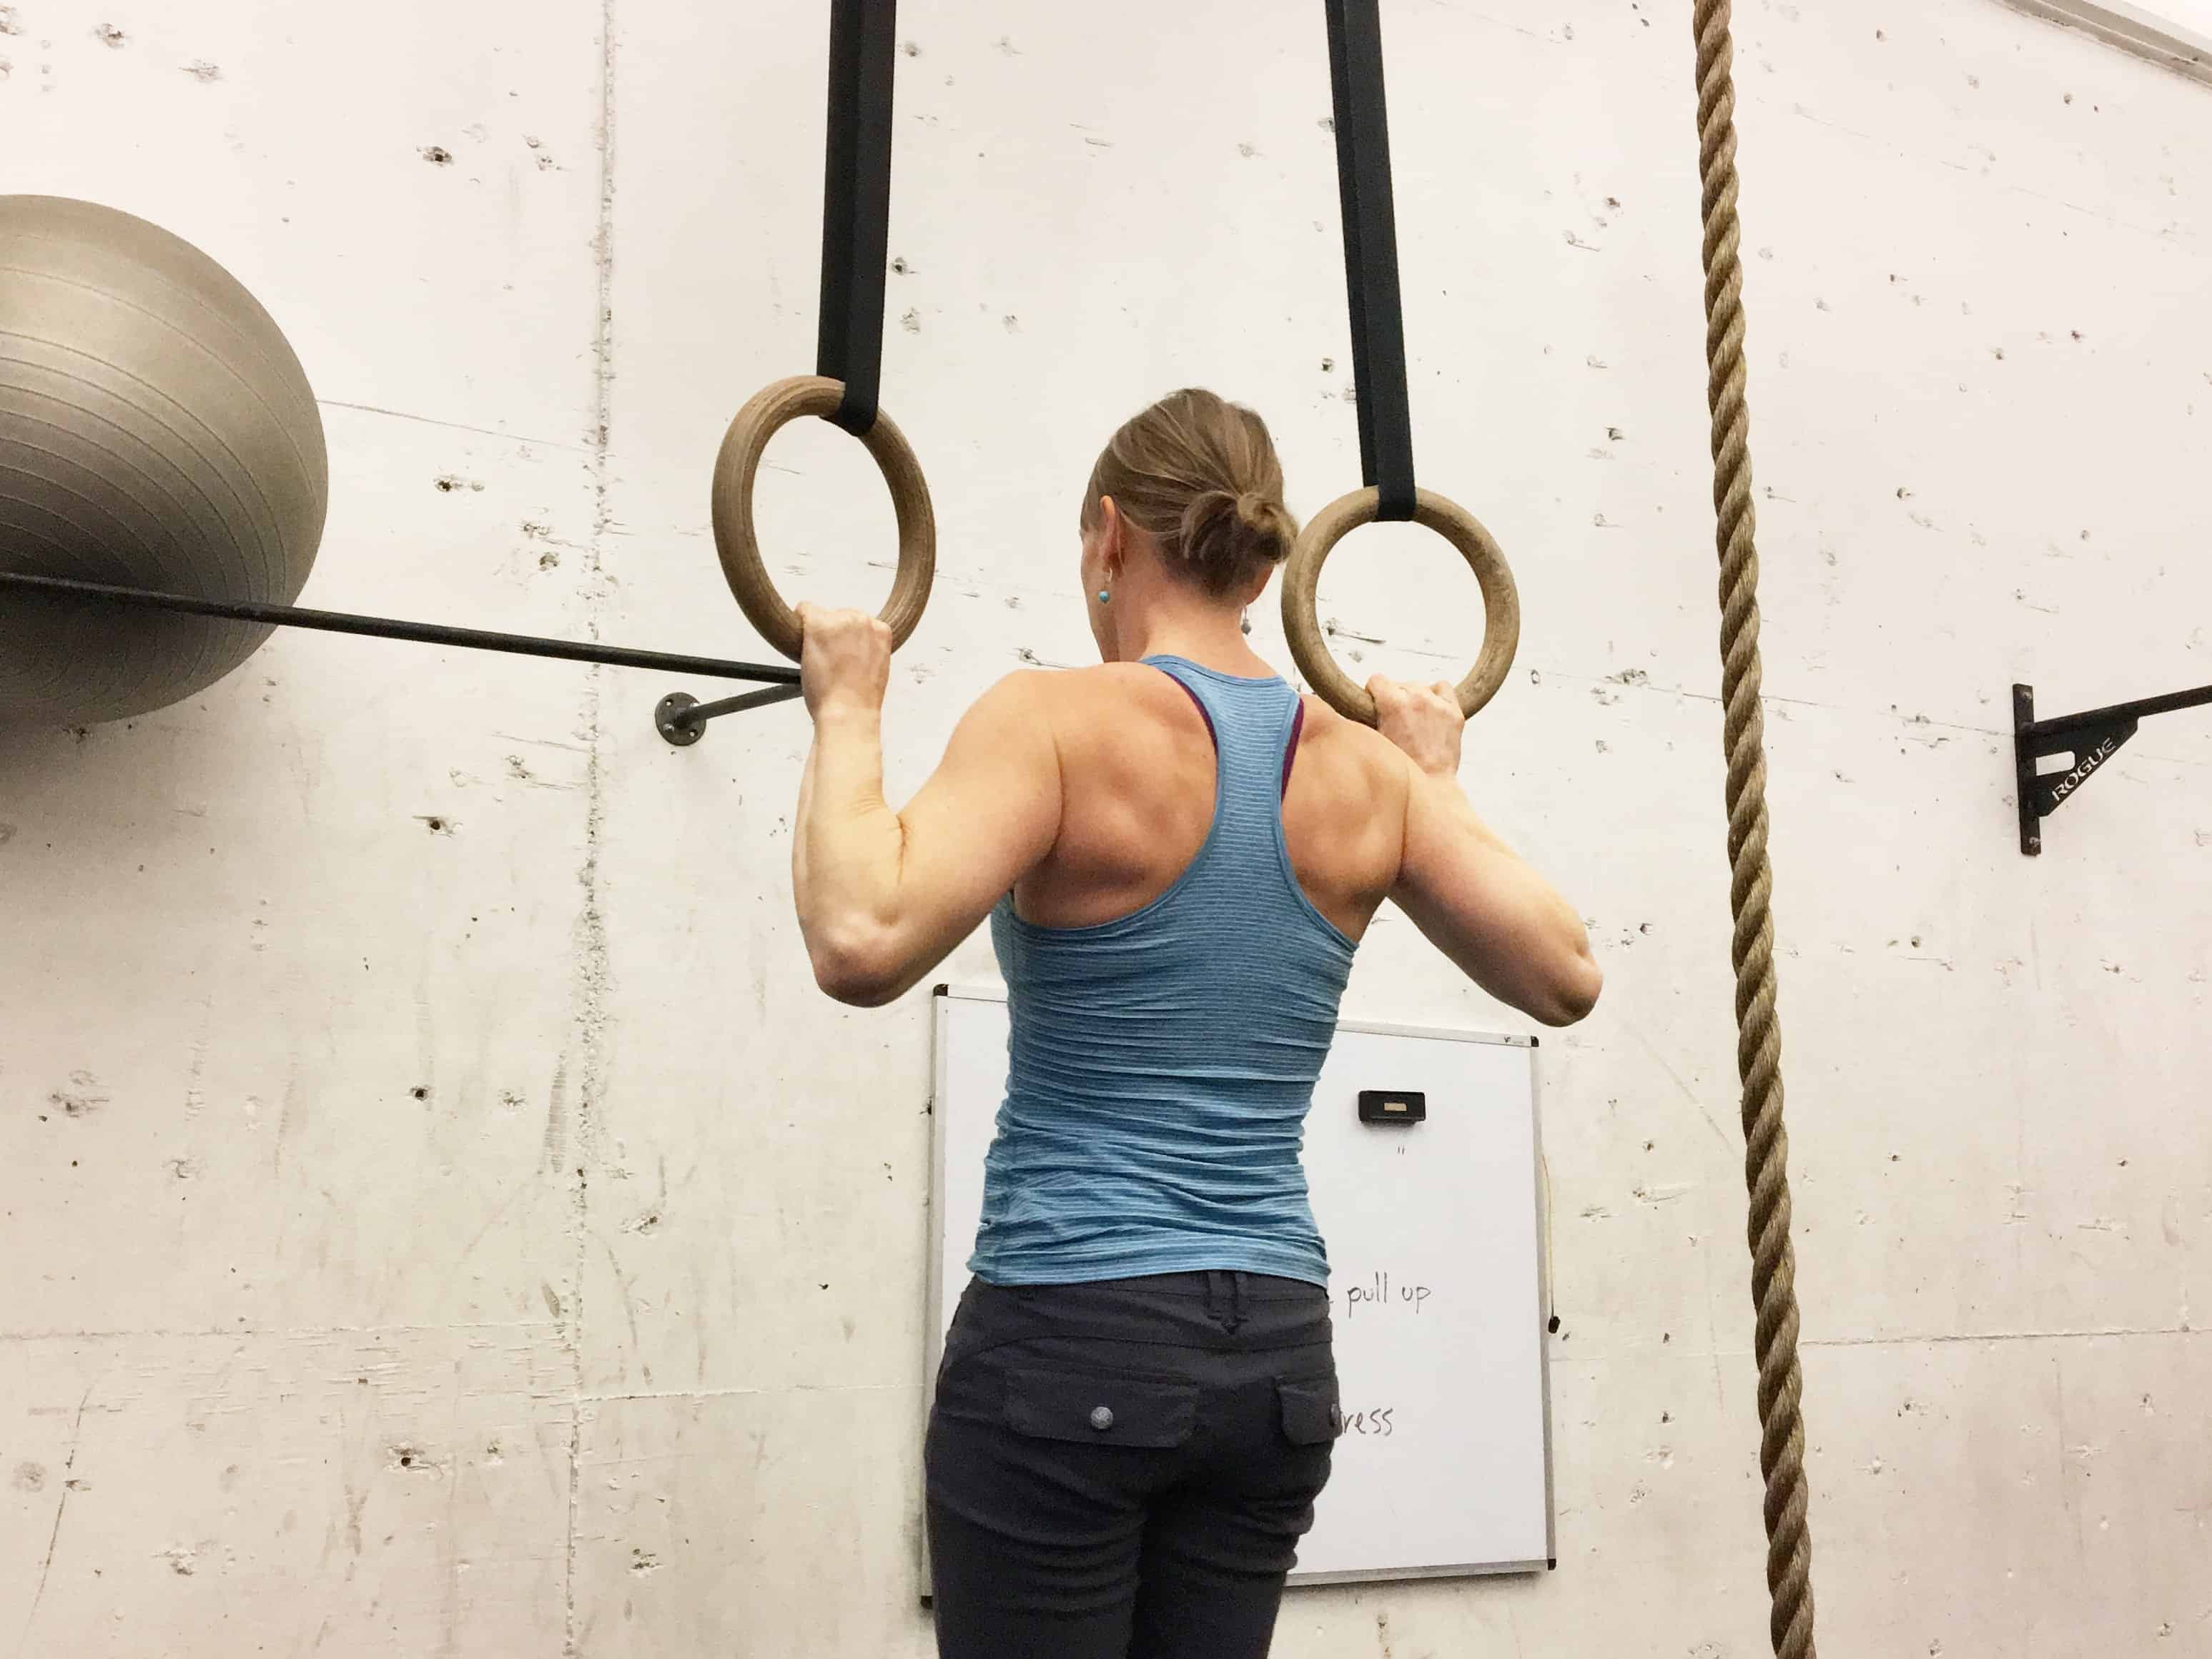
I love the Strong First Simple and Sinister program which is 5 minutes of 1 arm swings and 10 minutes of get ups (10 swings every 30 seconds alternating arms, rest one minute and then TGU alternating sides EMOM). The other way I really like to use get ups is combined with pull ups for an ascending ladder workout (1 get up each side followed by 1 pull up, then 2 get ups each side, followed by 2 pull ups and so on). Another great option with get up training is to add something at each stage of the get up. This really ingrains the get up skill, forces you to hold tension for longer and increases the strength training benefit. This could be as simple as adding a pause for 3 breaths at each position or you could add a press at each stage.
Good luck on your Turkish get up journey! If you have any queries or would like to train with me for one on one instruction in the get up and other great strength building exercises then contact me.
